Practical astronomy projects for every level of expertise
DIY Astronomy
Build an artificial star
Make a useful tool to test the alignment and quality of any telescope or lens
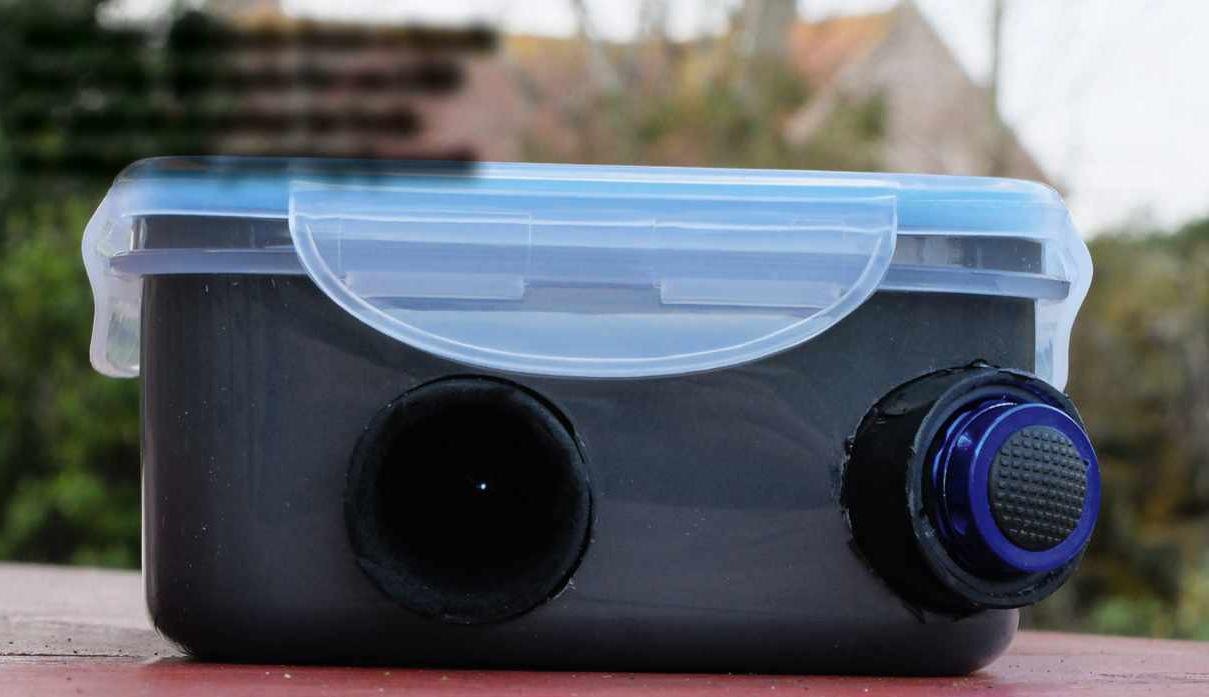
This month’s project is an artificial star – a bright, pinpoint source of light, resembling a real star in the night sky – that can be used to test the alignment and quality of your telescopes and camera lenses. Real stars work perfectly for this sort of testing, but with an artificial star you can test your equipment whenever you like, including the daytime, saving the best nights for observing!
Our ‘star’ is produced by shining an LED torch through aluminium foil with a tiny pinhole in it. The illuminated pinhole is reflected in a shiny ball bearing, which improves the star effect and means that the artificial star and telescope don’t need to be perfectly aligned. All the components are protected inside a robust box lined with black felt to absorb any stray light. In use, the box is placed at a suitable distance from the telescope. Some experimentation with the pinhole’s size is recommended; smaller holes work best, but larger holes are brighter.
See the light
When the artificial star is viewed through a well-focused telescope, the image should be bright and sharp. If the optical elements are misaligned or low-quality, the star may not be circular or focused. If you slightly defocus the image, a series of normally concentric diffraction rings (called Airy discs) appear. These rings provide an enhanced indication of any problems with your setup. You can usually adjust (collimate) your telescope to correct a misalignment, making the rings concentric. There are also ways to mitigate against some of the problems seen with cheaper optics. For a useful introduction to collimating and star testing, visit www.skyatnightmagazine.com/advice/how-to-star-test-a-telescope.
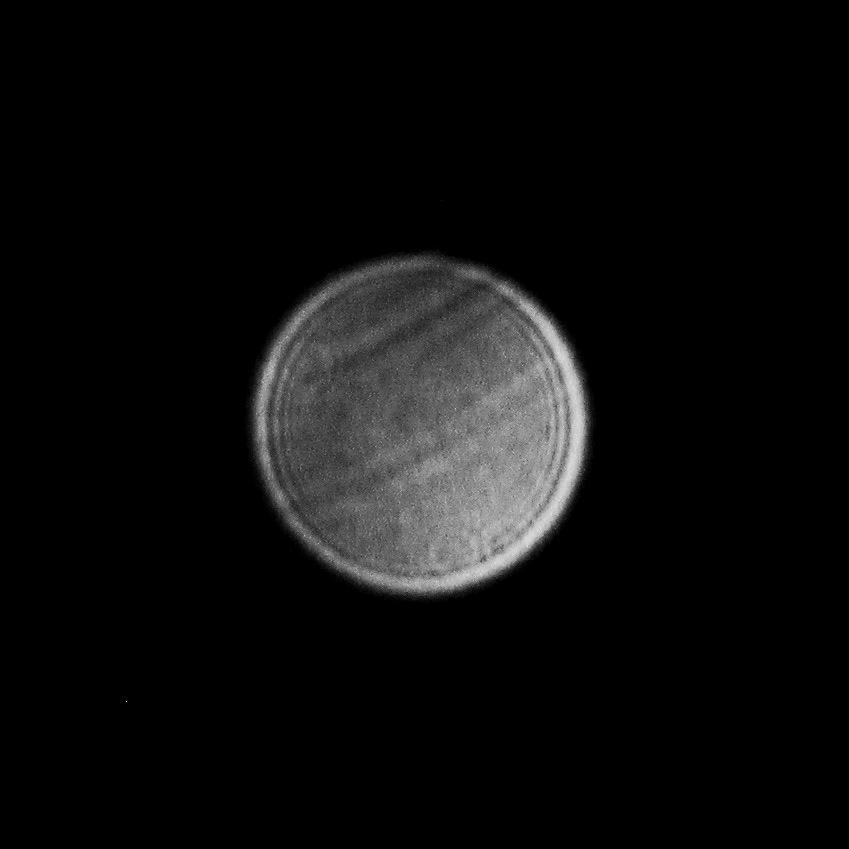
If the elements of a camera lens are not of the highest quality or design, some colours of light may not focus together on the same point, causing blurry purple fringes around stars. By taking a series of images of a well-focused artificial star and varying the exposure settings (increasing aperture and reducing speed by one stop each time), you should be able to gauge which is the lens’s widest useable aperture for astrophotography.
To properly star test your telescope with the artificial star, place it a minimum of 25 times the focal length of your telescope away. For a 200mm f/10 telescope that would be 200 x 10 x 25 = 50 metres away, but if you just want to collimate it you can place the ‘star’ much closer. The limiting factor is then how close an object can be while you can maintain focus on it.
What you’ll need
► Hand drill and bits – one suitable for the tube diameter and one approximately 12mm for the aperture
► Coping saw, scissors, craft knife, pencil, hot glue gun, pin
► Sturdy plastic lunch box, small LED torch with a switch on the end, PVC or cardboard tube just wide enough to fit the torch
► Offcuts of card or board for aperture and packing
► Black felt, aluminium foil, matt black spray paint
► Shiny ball bearing (8mm or so), short dowel
Step by step
Step 1
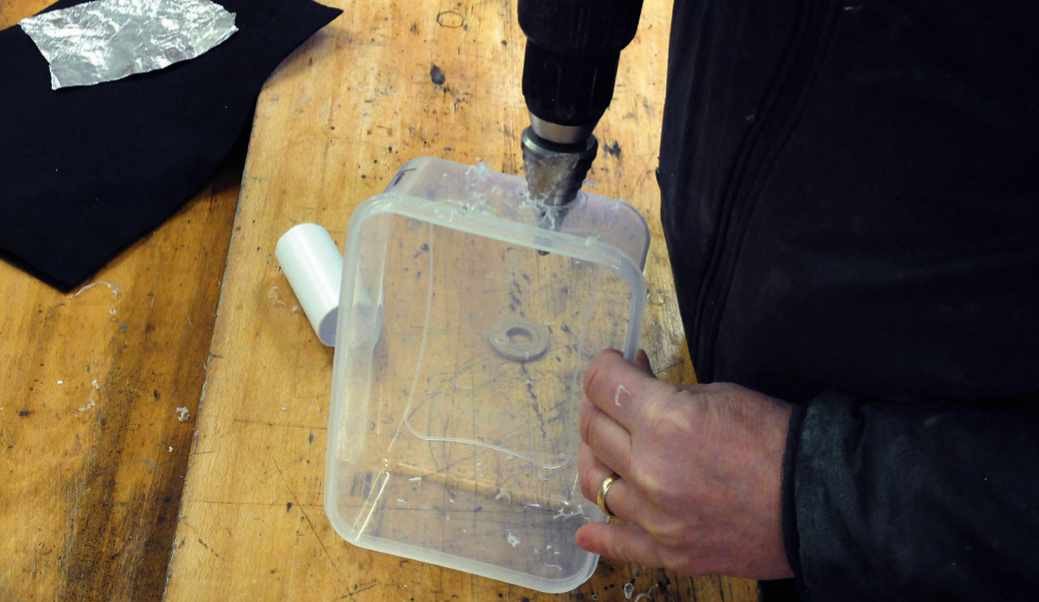
After marking the positions, drill holes in the lunch box to fit your torch tube and viewing tube. If you haven’t got a large enough drill, you can enlarge a smaller hole with a craft knife, but take great care not to slip.
Step 2
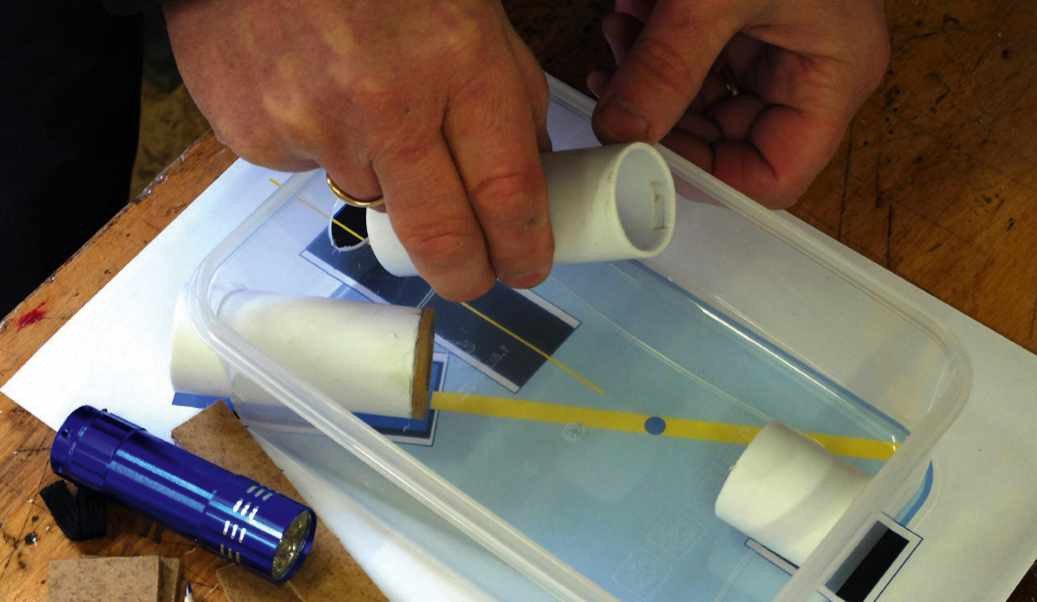
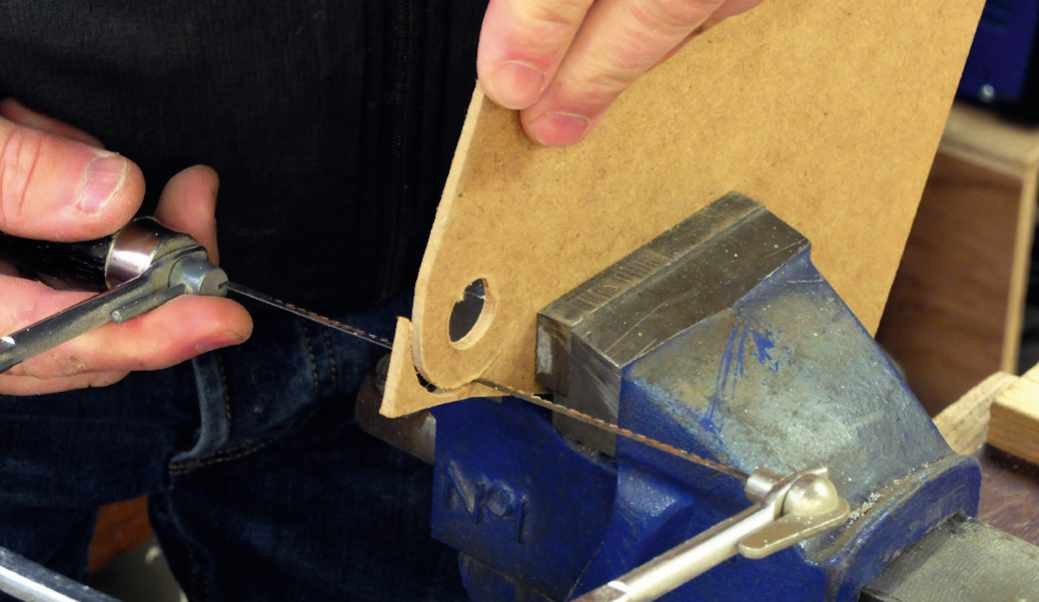
Adapt our downloadable diagram to suit your box’s size. Saw the three tubes to length and carefully remove any rough edges by scraping with a craft knife. You may need to cut some packing to put under the tubes to keep them level.
Step 3
Select the tube into which the torch will go. From a piece of board make an aperture disc to be glued to the end of the torch tube. It is easier to drill the 12mm hole before doing the cutting out. Use a glue gun to stick the aperture disc to the tube.
Step 4
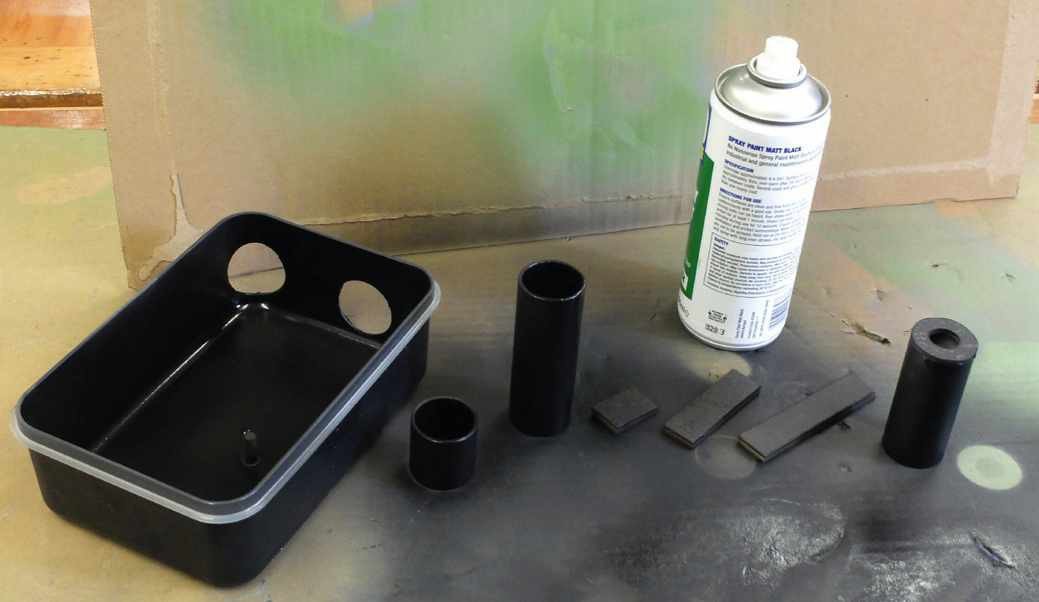
All of the parts, including any packing, should be painted matt black inside and out to absorb any stray light that might otherwise reach the telescope. We painted the inside of the box and lined it and the viewing tube with some black felt.
Step 5
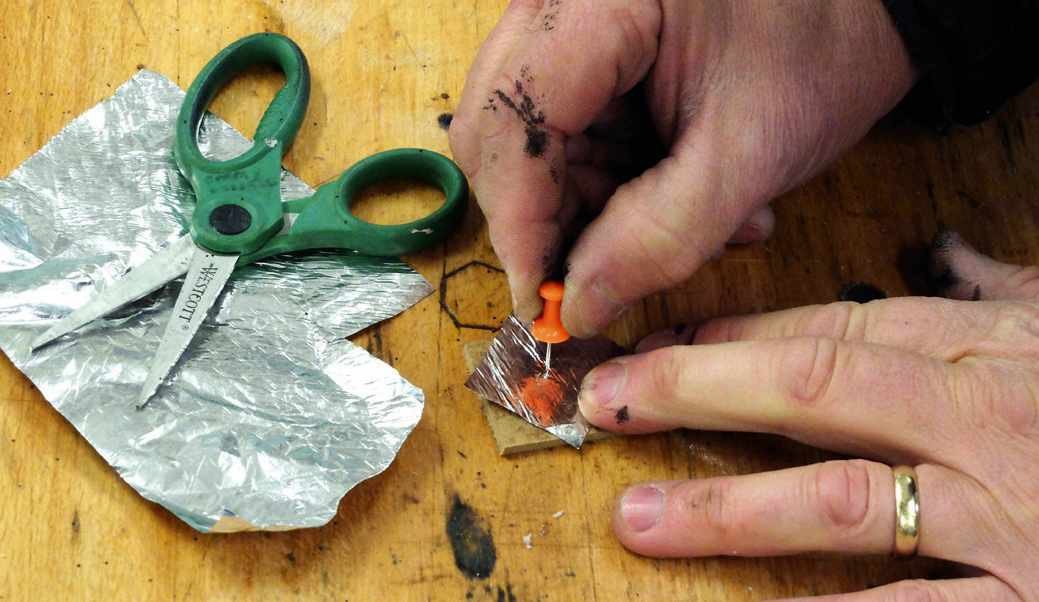
Cut a small piece of aluminium foil. Use a sharp pin to make a small round hole. You might need a few attempts to get a good example. You can experiment later with different-sized holes to see which gives the best results.
Step 6
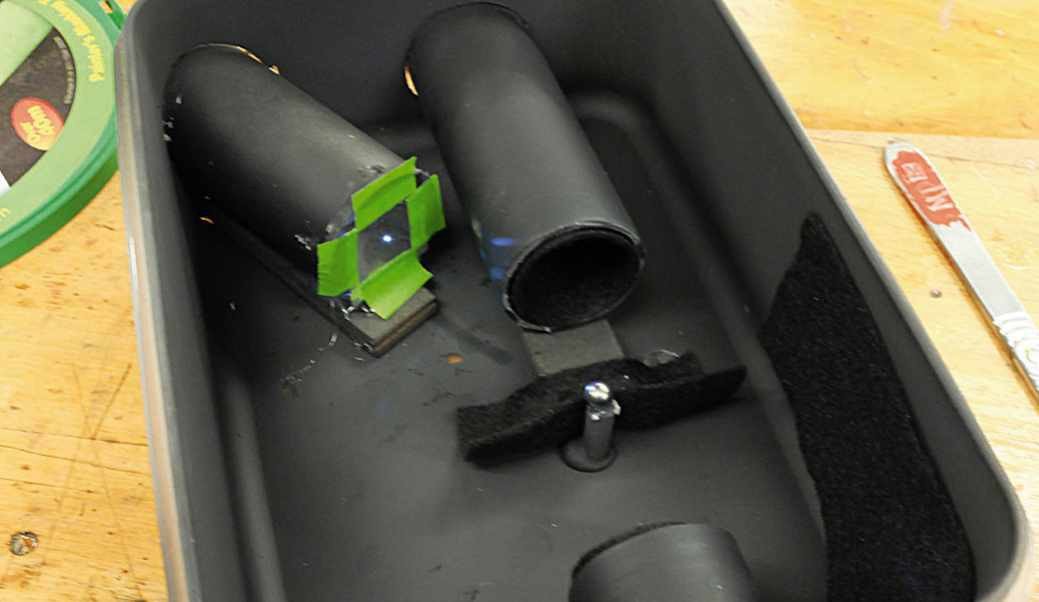
Assemble using hot glue. Glue the ball bearing on a black dowel. Glue the dowel so that it appears centrally in the viewing tube and is also illuminated by the torch. Use tape to fix the foil over the torch aperture. Add light-absorbing felt as necessary.
MORE ONLINE
Visit our Bonus Content to download a diagram and find more photos to help with your build.
